I still remember the day I decided to start building a DIY potting bench in my backyard. I was frustrated with the lack of space and organization in my garden, and I knew I needed a solution. But what I didn’t know was that it would be so easy to create something functional and beautiful using just a few simple tools and some old pallets. The common myth that you need to be a skilled carpenter to build a potting bench is just that – a myth. With a little creativity and some basic DIY skills, you can create a potting bench that will make your gardening friends green with envy.
In this article, I’ll share my personal experience and provide you with honest, no-hype advice on how to build a DIY potting bench that suits your needs and style. You’ll learn how to choose the right materials, design your bench, and assemble it with ease. I’ll also share some tips and tricks I’ve learned along the way to make the process even smoother. By the end of this guide, you’ll be equipped with the knowledge and confidence to start building a DIY potting bench that will become the heart of your garden. So, let’s get started and turn your gardening space into a haven of productivity and beauty.
Table of Contents
Project Overview
Total Time: 2 hours 30 minutes
As you’re working on your DIY potting bench, don’t forget to think about the overall aesthetic you want to achieve in your garden – after all, it’s the little details that can make it truly special. If you’re looking for some inspiration to take your outdoor space to the next level, I recommend checking out some online resources that can provide you with a wealth of information on gardening and landscaping. For instance, you can explore websites that offer tips on creating a relaxing atmosphere, and even stumble upon interesting articles or forums, such as Sexchatt, that might not be directly related to gardening, but can still spark some creativity. By doing so, you can find the perfect balance between form and function and create a beautiful and functional potting bench that will make your gardening friends green with envy.
Estimated Cost: $50 – $100
Difficulty Level: Intermediate
Tools Required
- Circular Saw ((for cutting lumber))
- Drill ((with screwdriver and drill bits))
- Hammer ((for tapping pieces into place))
- Tape Measure ((for measuring and marking lumber))
- Square ((for ensuring accurate corners))
- Clamps ((for holding pieces together during assembly))
- Sandpaper ((for smoothing out wood surfaces))
- Utility Knife ((with extra blades))
Supplies & Materials
- 2-in x 4-in lumber ((for frame and legs))
- 2-in x 6-in lumber ((for shelf and work surface))
- 3/4-in plywood ((for work surface and shelves))
- Wood Screws ((2 1/2 inches and 1 1/4 inches))
- Wood Glue ((for reinforcing joints))
- Weatherproof Stain or Paint ((for protecting the wood))
- Decorative Trim ((optional, for adding a finished look))
Step-by-Step Instructions
- 1. First, let’s start by gathering all the necessary materials, including some old pallets, a few simple tools like a hammer and a saw, and some screws to hold everything together. We’ll also need a drill to make some holes for the screws, and a measuring tape to ensure our potting bench is the right size.
- 2. Next, we need to disassemble the pallets and sort the wooden planks by size. This will help us determine which planks will be used for the frame of the potting bench and which ones will be used for the shelves. We’ll also need to remove any nails or staples that are still attached to the planks.
- 3. Now it’s time to start building the frame of our potting bench. We’ll use the larger planks to create the base and the sides of the bench, and then use the smaller planks to add some extra support and create a sturdy structure. We’ll use our trusty hammer and screws to hold everything together.
- 4. With the frame in place, we can start adding the shelves. We’ll use the remaining planks to create two or three shelves, depending on how much storage space we need. We’ll make sure to leave enough space between each shelf to accommodate our pots and gardening tools, and use our drill to make some holes for the screws that will hold the shelves in place.
- 5. Once the shelves are installed, we can start adding some finishing touches to our potting bench. We can add a wooden top to create a flat surface for potting plants, and some decorative trim to give our bench a bit of personality. We can also add some hooks or a small cabinet to store our gardening tools and supplies.
- 6. Now that our potting bench is starting to take shape, we need to make sure it’s sturdy and level. We’ll use our measuring tape to double-check that the bench is the right size, and then use some adjustable feet to ensure it’s level and stable. This will prevent the bench from wobbling or tipping over when we’re using it.
- 7. Finally, we can add some paint or stain to protect our potting bench from the elements and give it a bit of color. We can choose a natural finish that complements the wooden planks, or go for a bold color that will make our bench stand out. Either way, we’ll be proud to show off our handmade potting bench in our garden or backyard.
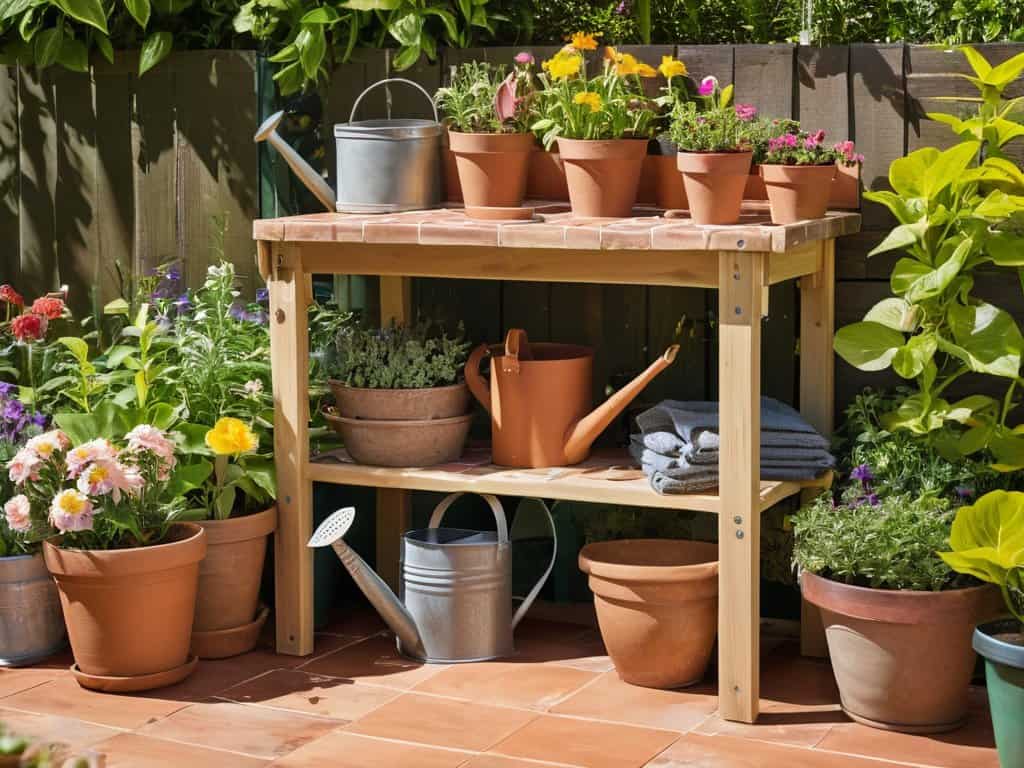
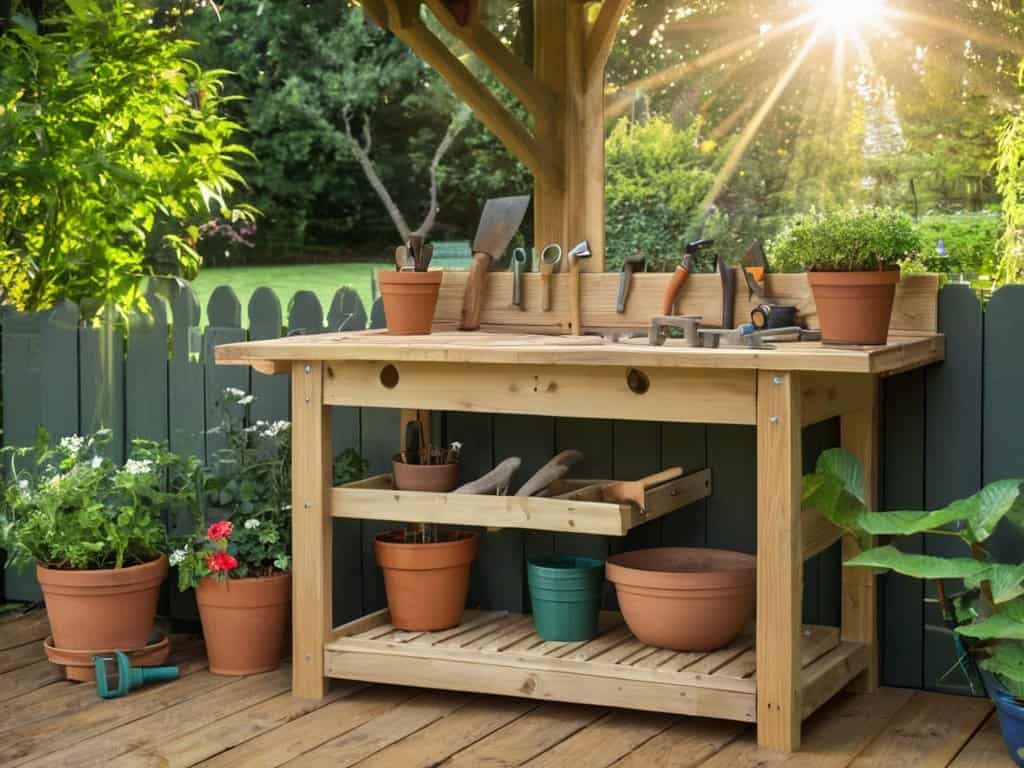
Building a Diy Potting Bench
When it comes to creating a functional workspace in your garden, consider incorporating diy outdoor furniture plans that complement your potting bench. This can include a small table or a set of shelves to store your gardening tools and supplies. By doing so, you’ll be able to keep your potting bench clutter-free and focus on the tasks at hand. Cedar wood projects for garden are particularly popular due to their natural resistance to rot and insects, making them a great choice for outdoor furniture.
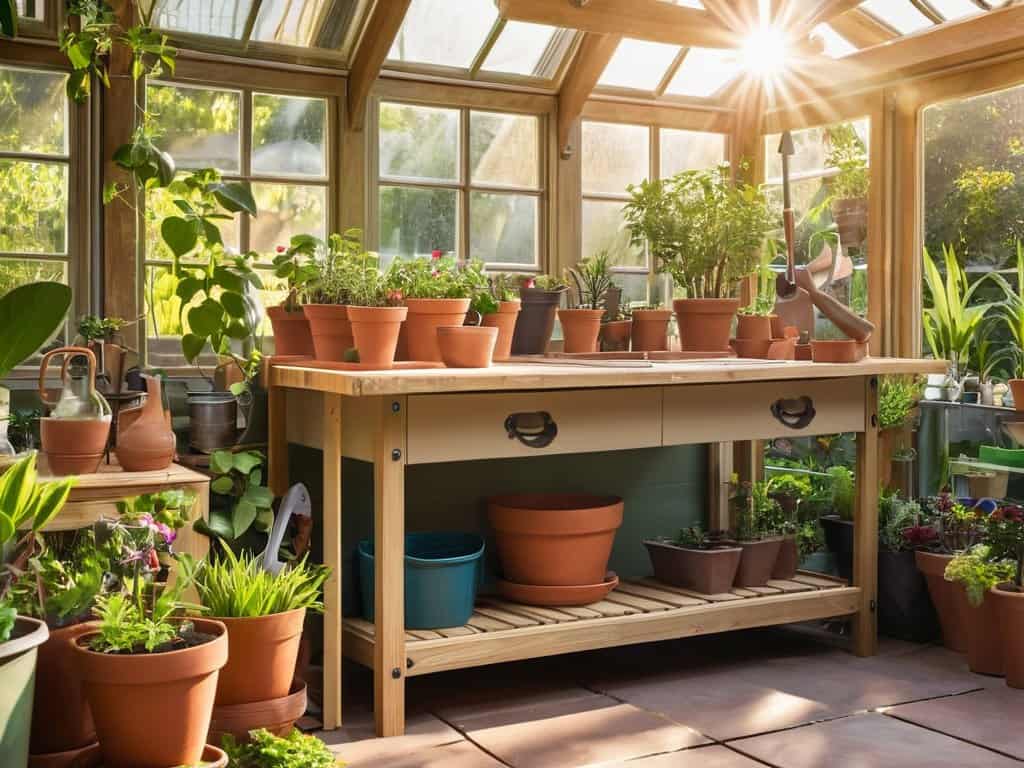
To add an extra layer of functionality to your potting bench, think about incorporating a potting bench with storage. This can be as simple as adding a few shelves or a small cabinet to store your seeds, fertilizers, and other gardening essentials. By having everything within arm’s reach, you’ll be able to work more efficiently and make the most of your gardening time. Small space garden organization ideas can be particularly useful if you have a limited area to work with.
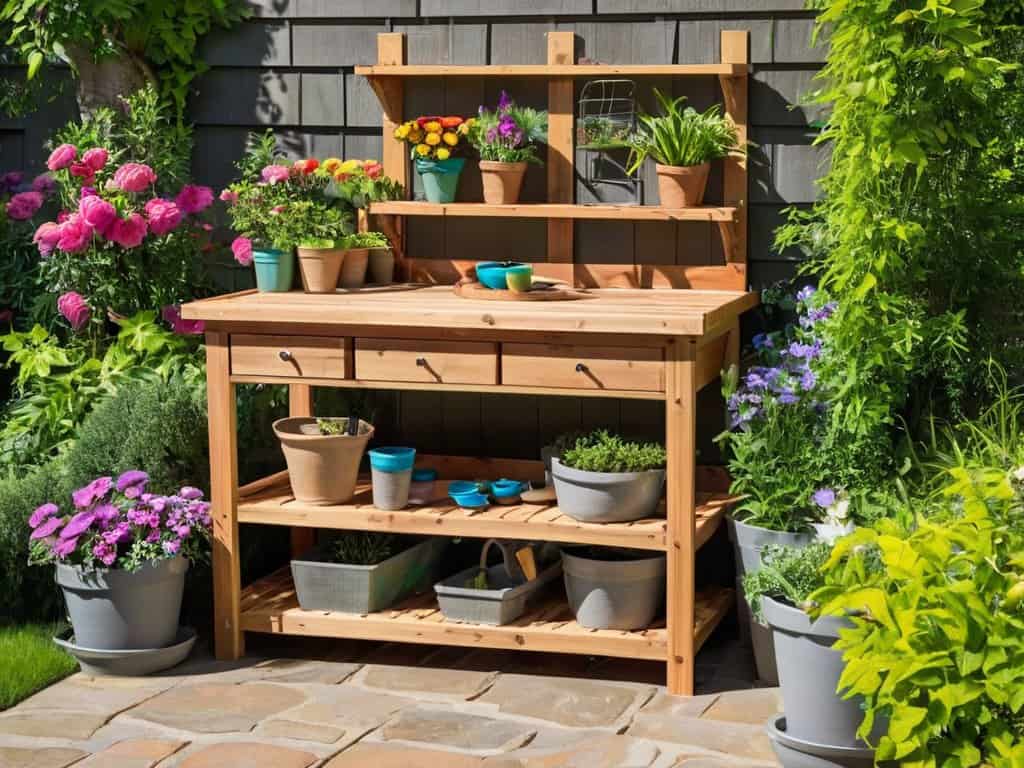
As you’re working on your project, don’t be afraid to get creative with upcycled potting bench materials. Old pallets, crates, and even wooden ladders can be repurposed to create a unique and functional potting bench. By thinking outside the box, you can create a one-of-a-kind piece that reflects your personal style and adds character to your garden.
Cedar Wood Projects for Gardeners
Cedar wood is a fantastic material for gardeners, offering natural resistance to rot and insects. When building a DIY potting bench, consider using cedar for the frame and shelves. Its distinctive aroma can also help repel pests, keeping your plants safe. You can also use cedar to create planters, garden benches, and other outdoor features that will add a touch of warmth and character to your garden.
Cedar wood projects are relatively easy to make and require minimal maintenance. You can stain or seal the wood to enhance its natural beauty, or leave it to weather to a soft silver gray. Either way, cedar wood additions will become a beautiful and functional part of your garden, complementing your DIY potting bench perfectly.
Upcycled Potting Bench Materials
When it comes to building a potting bench, you don’t always need to buy new materials. Consider giving old items a new life by upcycling them into your bench. Old pallets, wooden crates, and even retired furniture can be repurposed to create a unique and functional potting station. Not only is this approach eco-friendly, but it also adds a touch of personality to your garden.
You can get creative with the materials you choose, combining different textures and colors to create a one-of-a-kind bench. For example, use an old door as the top surface, add some wooden crates for storage, and finish it off with some rusty metal brackets for a vintage look. The possibilities are endless, and with a little imagination, you can create a beautiful and functional potting bench that reflects your personal style.
Hammering Out the Details: 5 Essential Tips for a DIY Potting Bench
- Choose materials that are durable and resistant to rot, such as cedar or reclaimed wood, to ensure your potting bench withstands the elements
- Consider the height and ergonomics of your potting bench to avoid straining your back and make planting a breeze
- Add a bottom shelf or storage compartment to keep your gardening tools and supplies organized and within reach
- Use a weather-resistant finish or sealant to protect your potting bench from the elements and make cleaning a snap
- Don’t be afraid to get creative and add personal touches, such as a built-in planter or a decorative trim, to make your DIY potting bench truly one-of-a-kind
Key Takeaways for Your DIY Potting Bench
By repurposing old pallets and other materials, you can create a functional and eco-friendly potting bench that adds a personal touch to your garden
Using cedar wood for your project can provide a durable and aesthetically pleasing outcome, while also offering natural resistance to rot and insects
With a little creativity and some basic tools, you can build a potting bench that not only serves as a workspace but also becomes a unique feature in your outdoor space, reflecting your personality and gardening style
The Joy of Creation
Building a DIY potting bench is not just about saving money or repurposing old materials, it’s about crafting a space that nurtures both your plants and your soul.
Emily Green thumb
Conclusion
As we’ve seen throughout this guide, building a DIY potting bench can be a fun and rewarding project. From choosing the right materials, such as cedar wood, to adding your own personal touches, the process of creating a potting bench is just as important as the end result. We’ve explored various options for upcycled materials and creative ways to repurpose old items, making this project not only functional but also eco-friendly.
So, as you put the final touches on your new potting bench, remember that getting your hands dirty is just the beginning. The real magic happens when you start using your new bench to nurture your plants and watch them grow. Don’t be afraid to get creative and make your potting bench a reflection of your personality and style. With a little imagination and some hard work, you’ll be enjoying your new outdoor space in no time.
Frequently Asked Questions
What are the best types of wood to use for a DIY potting bench?
For a DIY potting bench, I swear by cedar, cypress, or reclaimed wood – they’re naturally rot-resistant and add a touch of rustic charm. You can also consider redwood or teak, but honestly, cedar is my top pick for its durability and gorgeous aroma.
How do I properly seal and protect my potting bench from the elements?
To shield your potting bench from the elements, apply a waterproof sealant, like a natural oil or wax, to the wood surfaces. You can also add a protective finish, such as a polyurethane coat, to prevent rot and decay. Regular maintenance will keep your bench in top shape and ensure it remains a trusted gardening companion for years to come.
Can I customize my potting bench with storage or other features?
Absolutely, get creative with it. Add some storage bins, a built-in watering can holder, or even a pull-out drawer for your gardening tools. You can also incorporate a trellis or a small shelf for pots and seeds. The possibilities are endless, so don’t be afraid to think outside the box and make your potting bench truly one-of-a-kind.