
I still remember the day I decided to tackle my first repair project – a broken toaster that had been collecting dust in my kitchen for months. As I dove into the world of Repair Attempt Mastery, I quickly realized that it wasn’t about being a genius or having a natural talent for fixing things. It was about being willing to get your hands dirty, learn from your mistakes, and persevere. The myth that you need to be a skilled craftsman to master repair attempts is simply not true. With the right mindset and guidance, anyone can develop the skills needed to become a repair rockstar.
In this article, I’ll share my personal story of how I went from a complete novice to a confident repair enthusiast, and provide you with practical tips and honest advice on how to achieve Repair Attempt Mastery. You’ll learn how to diagnose problems, choose the right tools, and execute repairs with ease. My goal is to give you the no-hype guidance you need to start tackling your own repair projects with confidence. By the end of this article, you’ll be equipped with the knowledge and skills to take on any repair challenge that comes your way, and join the ranks of the repair masters who have already achieved Repair Attempt Mastery.
Table of Contents
Project Overview
Total Time: 3 hours 15 minutes
Estimated Cost: $50 – $100
Difficulty Level: Intermediate
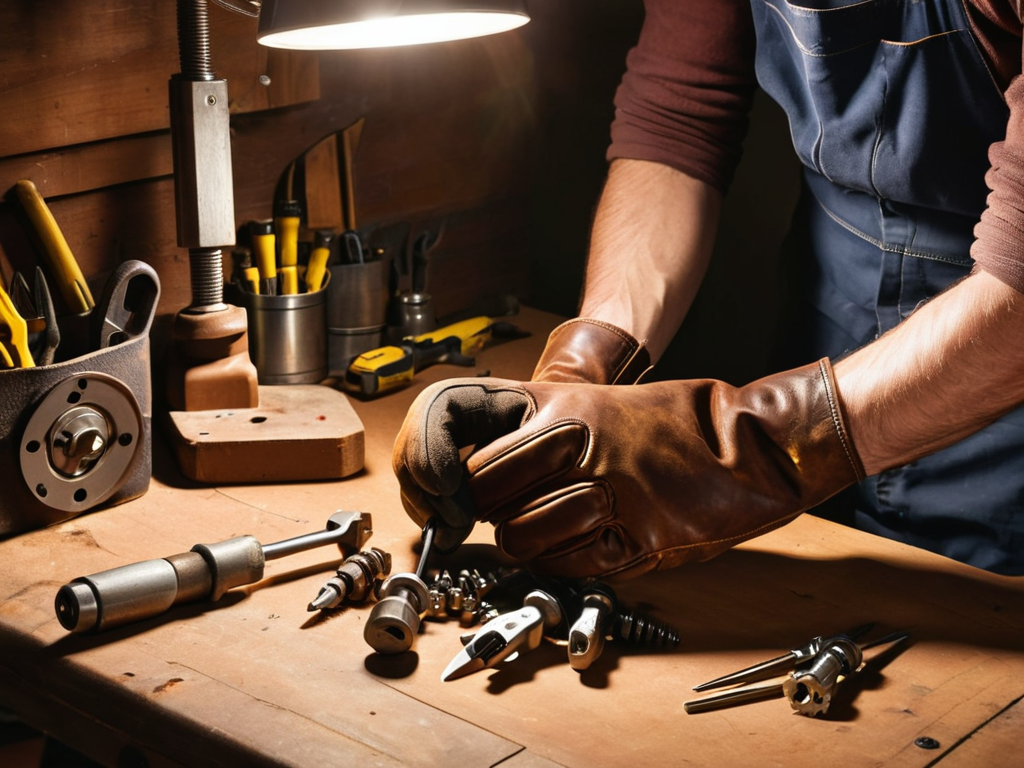
Tools Required
- Pliers ((needle-nose and slip-joint))
- Screwdriver ((flathead and Phillips))
- Wire Cutters ((for 10-gauge wire))
- Tape Measure ((25 feet long))
- Level ((torpedo level))
- Work Light ((LED light with adjustable arm))
Supplies & Materials
- 2-in x 4-in Lumber ((for framing repairs))
- 1/2 inch Plywood ((for patching))
- Wood Glue ((for bonding))
- 2 inches Drywall Screws ((coarse thread))
- Spackling Compound ((for finishing))
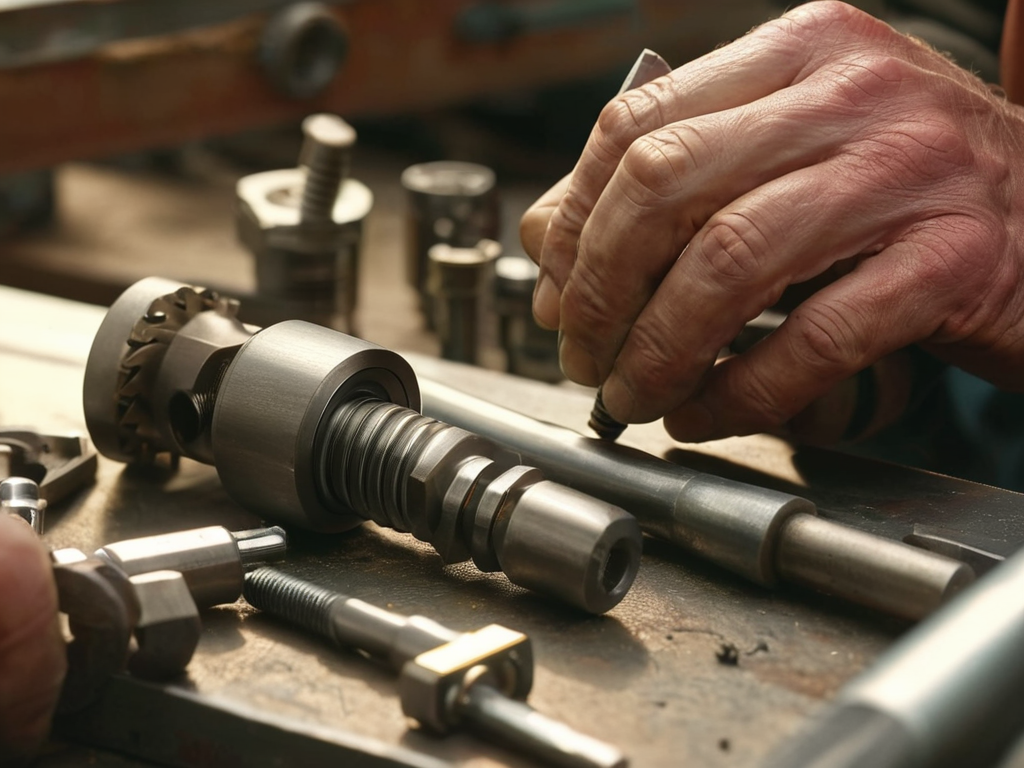
Step-by-Step Instructions
- 1. First, gather your tools and materials, because having everything you need within arm’s reach is crucial for a smooth repair process. This includes a well-lit workspace, a multitool, and any specific parts or equipment required for the job. Take your time to ensure you have all the necessary items before starting the repair.
- 2. Next, assess the damage to understand the scope of the repair. This involves inspecting the item carefully, identifying the source of the problem, and determining the best approach to fix it. It’s essential to be methodical in your assessment to avoid missing any critical details.
- 3. Now, disassemble the item with caution, making sure to keep track of all the screws, clips, and other parts that you remove. This step requires patience, as rushing through it can lead to lost or damaged components. Label each part as you remove it to simplify the reassembly process.
- 4. After disassembling the item, clean and prepare the area where the repair will take place. This involves removing any dirt, grime, or debris that may interfere with the repair. Using compressed air or a soft brush can be effective for cleaning small crevices and sensitive electronics. Work in a well-ventilated area to avoid inhaling dust or fumes.
- 5. With the area prepared, you can now proceed with the actual repair. This might involve soldering, replacing parts, or applying adhesives, depending on the nature of the repair. It’s crucial to follow safety guidelines, such as wearing protective gloves and eyewear, especially when working with electrical components or hazardous materials. Double-check your work as you go to ensure that each step is completed correctly.
- 6. Once the repair is complete, reassemble the item in the reverse order that you disassembled it. This step requires attention to detail to ensure that all parts are securely fastened and in their correct positions. Tighten screws and clips firmly but avoid over-tightening, which can damage the item.
- 7. Finally, test the repair to make sure it’s successful and the item functions as expected. This involves putting the item through its paces, simulating normal usage to identify any potential issues. If the repair is not successful, don’t be discouraged; instead, use it as an opportunity to learn and improve your repair skills.
Mastering Repair Attempt Mastery

As you continue on your journey to master the art of repair, it’s essential to remember that sometimes, taking a break and clearing your mind can be just as important as following the steps. I’ve found that engaging in conversations with others, whether it’s about your repair projects or just life in general, can help you gain a fresh perspective and come back to your tasks with renewed energy and focus. If you’re looking for a platform to connect with like-minded individuals or just need someone to talk to, you might want to check out milf sex chat, a community that offers a unique way to build connections and take your mind off the tasks at hand, allowing you to return to your repair attempts with a clearer mind and a more positive attitude.
To truly master the art of fixing things, it’s essential to develop a mindset that embraces continuous learning. This means being open to new techniques, tools, and strategies that can help you improve your skills. By doing so, you’ll become more confident in your ability to tackle complex repairs, and you’ll be better equipped to handle unexpected challenges that may arise.
As you work on mastering your repair skills, it’s also important to focus on effective problem-solving. This involves breaking down complex problems into smaller, more manageable parts, and then using creative thinking to find innovative solutions. By developing your problem-solving skills, you’ll be able to approach repairs with a clear and level head, even when faced with difficult or unfamiliar challenges.
By combining a growth mindset with effective problem-solving strategies, you’ll be well on your way to becoming a skilled repair expert. Remember to always stay calm and patient, and don’t be afraid to seek help or guidance when you need it. With time and practice, you’ll develop the skills and confidence you need to tackle even the most daunting repairs, and you’ll be able to navigate conflict resolution strategies with ease, whether it’s a broken appliance or a disagreement with someone about the best way to fix it.
Navigating Conflict With Emotional Intelligence
When faced with a repair that’s not going as planned, it’s easy to get frustrated. But losing your cool can lead to mistakes and even safety hazards. That’s where emotional intelligence comes in – being able to recognize and manage your emotions, even in the heat of the moment. By taking a step back, assessing the situation, and approaching it with a clear head, you can turn a potential disaster into a learning opportunity.
This mindset shift is crucial in mastering repair attempt mastery. It allows you to stay focused, think creatively, and find innovative solutions to complex problems. By navigating conflicts with emotional intelligence, you’ll not only become a better repair specialist but also a more patient and resilient person.
Rebuilding Trust With Empathy
When conflicts arise during repair attempts, empathy is key to rebuilding trust. It’s about understanding the other person’s perspective and acknowledging their feelings. By actively listening and showing that you care, you can diffuse tension and create a safe space for open communication. This helps to prevent further misunderstandings and allows you to work together towards a common goal.
As you rebuild trust, be genuine and transparent in your approach. Clearly explain your thought process and the steps you’re taking to resolve the issue. This not only helps to regain trust but also fosters a collaborative environment, making it easier to tackle complex repair challenges together.
5 Essential Tips to Supercharge Your Repair Attempt Mastery
- Start with a clear understanding of the problem: Before you begin any repair, make sure you’ve identified the root cause of the issue to avoid wasting time and resources on unnecessary fixes
- Choose the right tools for the job: Having the correct tools at your disposal can make all the difference between a successful repair and a frustrating failure
- Practice patience and persistence: Repairing something can be a tedious and time-consuming process, so it’s essential to remain calm and focused, even when faced with unexpected setbacks
- Continuously learn and improve: The art of repair is a continuous learning process, so stay up-to-date with the latest techniques, technologies, and best practices to refine your skills
- Document your progress and mistakes: Keeping a record of your repair attempts, including what worked and what didn’t, can help you refine your approach and avoid repeating the same mistakes in the future
Key Takeaways for Repair Attempt Mastery
Embracing a growth mindset and persevering through challenges is crucial for mastering repair attempts and becoming a skilled fixer
Developing emotional intelligence and empathy is essential for effectively navigating conflicts and rebuilding trust with others, even in the most difficult repair situations
By combining technical skills with strong interpersonal abilities, you can conquer the art of repair attempt mastery and achieve brilliant results, whether you’re a beginner or an experienced pro
The Repair Mindset
Mastering repair attempts isn’t just about fixing things, it’s about fixing the way we think about brokenness – embracing it as a chance to rebuild, restart, and make something even better than before.
Jack Harris
Conclusion
In our journey to master repair attempt mastery, we’ve covered the essential steps and delved into the nuances of emotional intelligence and rebuilding trust. By following these guidelines and practicing patience, you’ll be well on your way to becoming a repair rockstar. Remember, mastering repair attempt mastery is not just about fixing things, but also about navigating conflicts and rebuilding relationships. It’s about understanding the intricacies of human interaction and using that knowledge to create stronger, more meaningful bonds.
As you embark on this journey, keep in mind that repair attempt mastery is a continuous process. It takes time, effort, and dedication, but the rewards are well worth it. By embracing this mindset, you’ll not only become more skilled at repairing things, but you’ll also develop a deeper understanding of yourself and those around you. So, don’t be afraid to get your hands dirty, to take risks, and to learn from your mistakes. With persistence and determination, you’ll be able to turn even the most daunting challenges into opportunities for growth and success.
Frequently Asked Questions
What are the most common mistakes to avoid when attempting a repair?
When attempting a repair, beware of rushing in without a plan, ignoring safety precautions, and using the wrong tools for the job. These rookie mistakes can lead to more damage, injuries, and frustration. Take your time, do your research, and prioritize caution to set yourself up for repair success.
How can I balance the need for perfection with the risk of over-repairing?
The perfection paradox! It’s a delicate dance between fixing and over-fixing. Here’s the trick: set a ‘good enough’ threshold and stick to it. Ask yourself, “Is this repair functional and safe?” If yes, stop tinkering. Remember, perfection is the enemy of progress, and over-repairing can lead to diminishing returns – and a serious case of burnout.
What role does patience play in achieving repair attempt mastery?
Patience is the unsung hero of repair attempt mastery. It’s about taking a deep breath, stepping back, and trusting the process. With patience, you’ll avoid rushed mistakes, stay focused, and make thoughtful decisions, ultimately leading to more successful repairs and a stronger sense of mastery.