I still remember the day I decided to take the plunge and try my hand at Vertical Farming DIY. I was tired of relying on industrial farms for my produce and wanted to grow my own food, no matter how small the space. But what really sparked my interest was the myth that vertical farming is a complex and expensive endeavor, requiring a lot of technical expertise. The truth is, with a little creativity and some basic materials, anyone can start their own vertical farm at home.
In this article, I’ll share my personal experience and provide you with practical advice on how to get started with Vertical Farming DIY. I’ll walk you through the process of designing and building your own vertical farm, from choosing the right materials to maintaining a healthy and thriving ecosystem. You won’t find any hype or false promises here, just honest and straightforward guidance on how to grow your own food, even in the smallest of spaces. By the end of this article, you’ll be equipped with the knowledge and confidence to start your own vertical farming journey and enjoy the benefits of fresh, homegrown produce.
Table of Contents
Project Overview
Total Time: 4 hours 30 minutes
Estimated Cost: $100 – $200
Difficulty Level: Intermediate
Tools Required
- Drill ((with screwdriver and drill bits))
- Measuring Tape
- Level
- Pliers
- Utility Knife ((with extra blades))
- Wrench ((for tightening bolts))
- Ladder ((for reaching high shelves))
Supplies & Materials
- 2-in x 4-in lumber ((for frame construction))
- PVC Pipes ((for irrigation system))
- Growing Medium ((such as soil or hydroponic medium))
- Seeds or Seedlings ((for the chosen crops))
- Irrigation Tubing ((for water distribution))
- LED Grow Lights ((for providing sufficient light))
- Trellis or Support System ((for plant growth and stability))
- Water Pump ((for circulating water in the irrigation system))
- Timer ((for automating the irrigation and lighting systems))
Step-by-Step Instructions
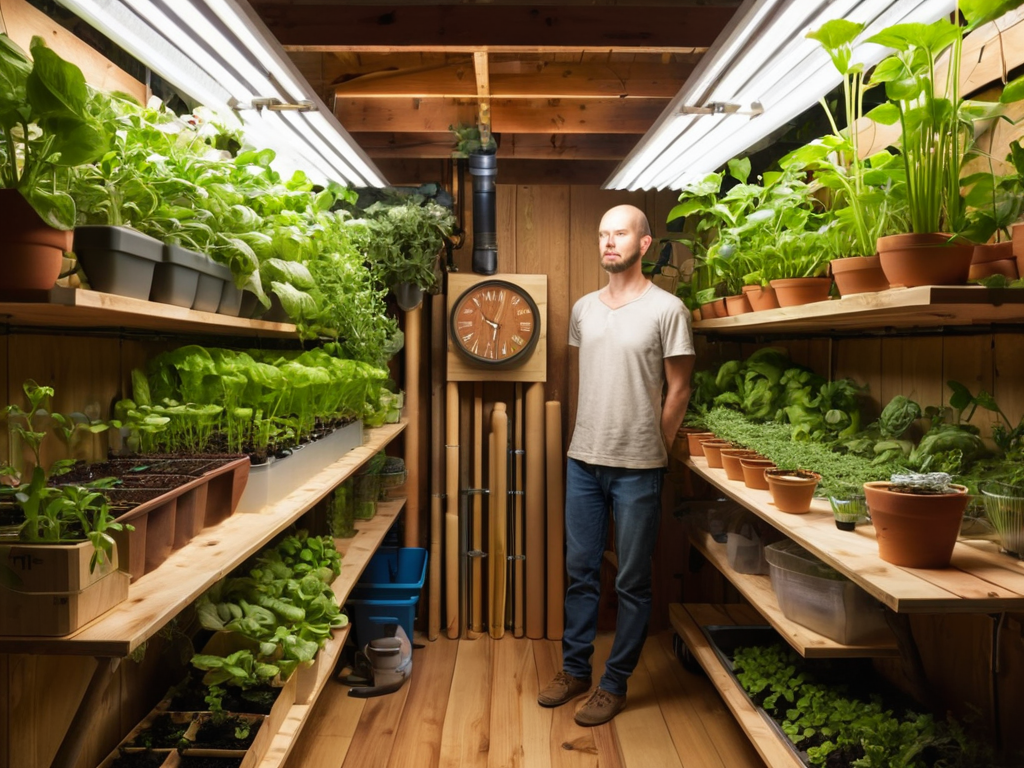
- 1. First, let’s get started with the basics – you’re gonna need a few essential materials to build your vertical farm. This includes a wooden or metal frame, some grow lights, a watering system, and of course, the plants you want to grow. Make sure you’ve got a clear space to work in, like a garage or a backyard shed.
- 2. Next, you’ll want to assemble your frame. This is where things can get a little tricky, but don’t worry, it’s still a pretty straightforward process. You’ll need to attach the shelves or layers where your plants will go, making sure they’re sturdy and can hold the weight of the plants, soil, and water. Use a level to ensure everything is even and secure.
- 3. Now it’s time to set up your irrigation system. This can be as simple as a soaker hose or as complex as a fully automated watering system. The key is to make sure your plants are getting the right amount of water at the right time. You don’t want to underwater or overwater, as this can lead to all sorts of problems, including root rot and nutrient deficiencies.
- 4. With your frame and irrigation system in place, it’s time to add your grow medium. This could be soil, coconut coir, or even a hydroponic system. Each has its own advantages and disadvantages, so do some research to figure out what’s best for you and your plants. Make sure it’s well-draining and has the right balance of nutrients for your plants to thrive.
- 5. Next up, you’ll need to install your lighting system. This is crucial for plants that need a lot of light to grow, like tomatoes or cucumbers. LED grow lights are a popular choice because they’re energy-efficient and can be tailored to specific wavelengths that promote healthy plant growth. Just be sure to follow the manufacturer’s instructions for installation and use.
- 6. Now it’s time to plant your crops. This is the fun part – you get to choose what you want to grow and see the fruits of your labor (literally!). Make sure to plant at the right depth and water well after planting. It’s also a good idea to start with a few easy-to-grow plants, like lettuce or herbs, to get a feel for the system before moving on to more challenging varieties.
- 7. Finally, monitor and maintain your vertical farm. This includes checking the pH and nutrient levels of your grow medium, pruning or training your plants as needed, and keeping an eye out for pests or diseases. It’s also important to keep your system clean and well-maintained to prevent problems down the line. With a little practice and patience, you’ll be enjoying fresh, homegrown produce in no time.
Vertical Farming Diy
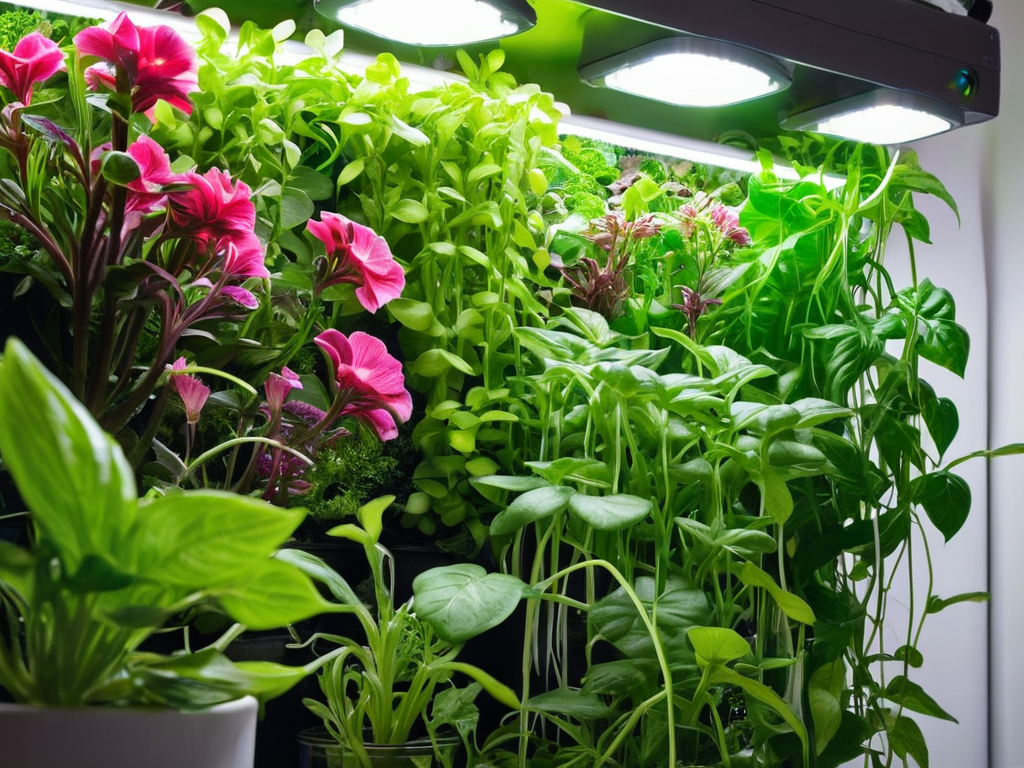
When it comes to creating a thriving indoor vertical garden, it’s essential to consider the lighting needs of your plants. LED grow light spectrum for plants can vary, but most plants require a balanced spectrum to promote healthy growth. By investing in a good quality LED grow light, you can ensure your plants receive the necessary light to flourish. Additionally, using diy hydroponic systems for beginners can be a great way to get started with vertical farming, as they are often easy to set up and require minimal maintenance.
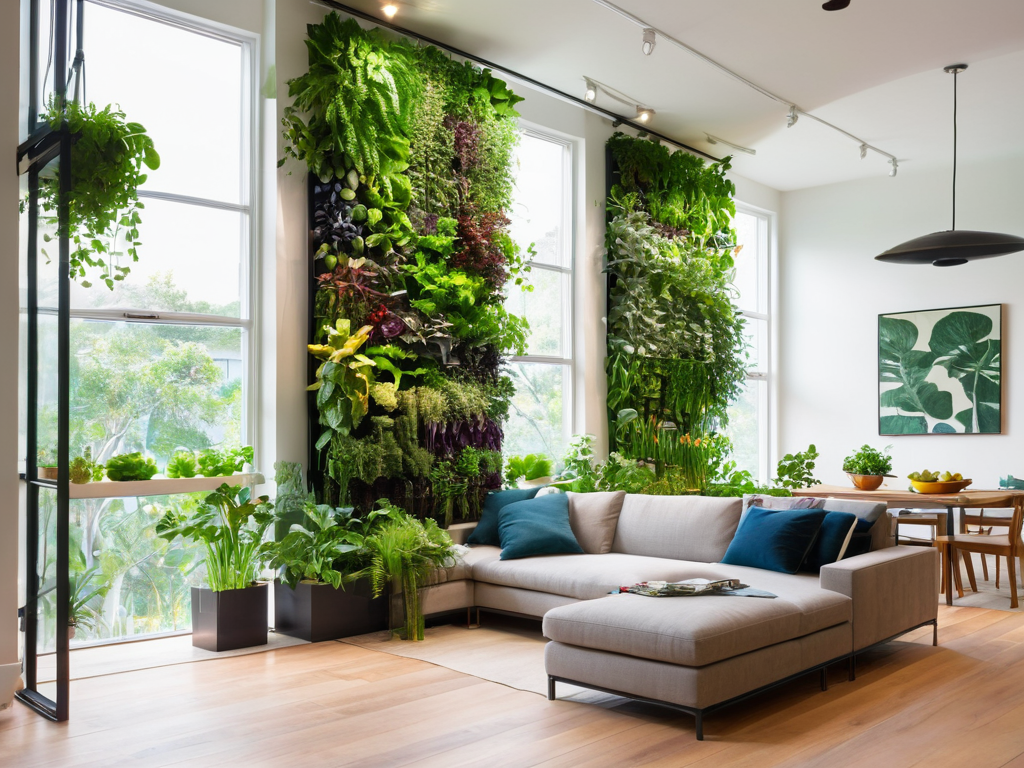
To take your vertical farm to the next level, consider implementing small space vertical farming ideas. This can include using wall-mounted planters or trellises to maximize space. By being creative with your space, you can grow a wide variety of plants, from leafy greens to herbs and even fruiting plants. Another benefit of vertical farming is the potential for aeroponic vertical farming benefits, which include increased crop yields and reduced water usage.
As you gain more experience with vertical farming, you may want to explore vertical farm automation cost and how it can benefit your operation. Automating certain tasks, such as watering and pruning, can save you time and increase efficiency. However, it’s essential to weigh the costs and benefits before investing in automation technology. By starting small and scaling up, you can create a thriving vertical farm that provides you with fresh produce all year round.
Rebel Gardeners Indoor Delight
Now that we’ve got the basics covered, let’s talk about the real fun part – creating an indoor oasis that’ll make you feel like a rebel gardener. With vertical farming, you can turn even the smallest spaces into a lush haven, perfect for growing your own herbs, leafy greens, or microgreens. Imagine being able to snip off a few fresh basil leaves for your morning pesto, or harvest a crunchy head of lettuce for a quick salad.
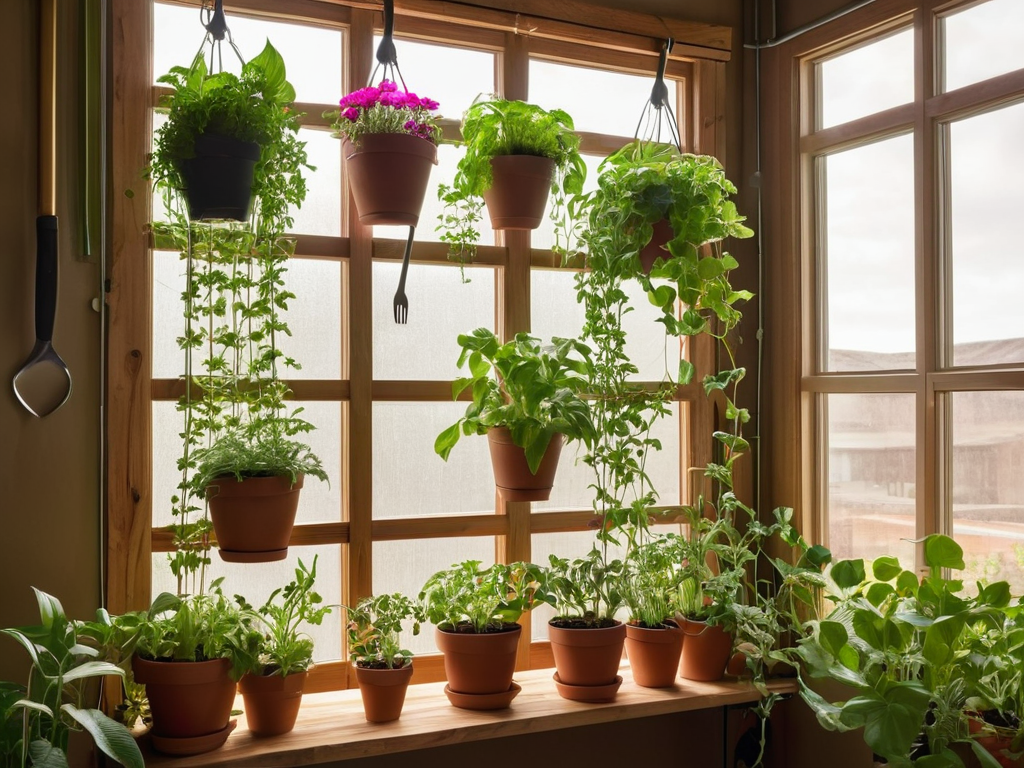
The best part? You don’t need a ton of space or fancy equipment to get started. A simple DIY setup can be as small as a bookshelf or a corner of your kitchen counter, making it perfect for apartment dwellers or those with limited outdoor space.
Small Space Farming Magic
In tiny apartments or houses with limited outdoor space, vertical farming is a game-changer. It allows you to grow a substantial amount of produce in a minimal footprint. By utilizing walls, ceilings, or even windows, you can create a thriving indoor garden. This approach not only saves space but also adds a touch of greenery to your home. With a little creativity, you can turn any small area into a productive farm, providing you with fresh, healthy food right in your own home.
As you continue on your journey to create your own vertical farming masterpiece, don’t be afraid to think outside the box and get a little creative with your space. For those looking to take their indoor garden to the next level, I highly recommend checking out some online resources that can provide valuable insights and tips on maximizing your yield. One such resource that I’ve found particularly helpful is a website that offers a wealth of information on urban gardening, which can be found at free sex melbourne – it’s a great place to start when looking for inspiration and advice on how to make the most of your indoor space.
By implementing vertical farming in small spaces, you can enjoy the benefits of homegrown produce without needing a large backyard. This method is perfect for urban dwellers or those with restricted outdoor areas, making it possible to cultivate your own food and connect with nature, even in the midst of a bustling city.
Rebel Gardener's Top 5 Vertical Farming DIY Hacks
- Start small and scale up: Don’t try to build a massive vertical farm for your first project, begin with a tiny system and expand as you gain experience
- Choose the right plants: Not all plants are created equal when it comes to vertical farming, opt for compact or vining varieties like lettuce, herbs, or strawberries
- Get creative with materials: You don’t need to break the bank to build a vertical farm, think outside the box and use recycled materials like PVC pipes, wooden pallets, or even old bookshelves
- Monitor and adjust: Keep a close eye on your plants’ progress and be prepared to make adjustments to lighting, watering, or nutrient levels as needed
- Don’t be afraid to experiment: Vertical farming is all about pushing the boundaries of traditional gardening, so don’t be afraid to try new things and learn from your mistakes
Key Takeaways for a Thriving Vertical Farm
Start small and be creative with the space you have, even the tiniest areas can become productive farms with the right approach
Combine technology with traditional gardening techniques to maximize yields and minimize maintenance in your vertical farm
Experiment with different plant varieties and hydroponic systems to find what works best for you and your unique indoor or outdoor environment
Sowing the Seeds of Revolution
Vertical farming DIY isn’t just about growing your own food, it’s about growing a movement – one seed, one soil, and one rebellious spirit at a time.
Rebel Gardener
Conclusion
As we’ve explored the world of vertical farming DIY, it’s clear that this innovative approach to gardening can bring numerous benefits, from increased crop yields to reduced environmental impact. From the initial setup to the final harvest, our step-by-step guide has walked you through the process of creating your own indoor vertical farm. We’ve delved into the ‘Rebel Gardener’s Indoor Delight’ and discovered the magic of ‘Small Space Farming’, proving that anyone can become a successful vertical farmer, regardless of their space constraints.
As you embark on your vertical farming journey, remember that the true power of this method lies in its ability to empower individuals and foster a sense of community. By embracing this sustainable and efficient way of growing your own food, you’re not only contributing to a healthier planet, but also inspiring others to join the movement. So, don’t be afraid to experiment, share your knowledge, and watch your vertical farm flourish – the future of food production is in your hands.
Frequently Asked Questions
What are the most suitable plants for a DIY vertical farming system?
Dude, for a DIY vertical farm, you’ll want plants that thrive in tight spaces! Leafy greens like kale, spinach, and lettuce are perfect, along with cherry tomatoes, herbs, and microgreens. They’re easy to grow, don’t take up much room, and will give you a killer harvest in no time!
How much maintenance and upkeep is required for a vertical farm?
Honestly, maintenance is a breeze. Just water, prune, and fertilize your plants regularly. Check on your system daily to ensure everything’s running smoothly. It’s about 10-15 minutes of upkeep per day, and trust me, it’s worth it to see your vertical farm thrive!
Can I use a DIY vertical farming system to grow plants year-round, regardless of the season?
Absolutely, with a DIY vertical farming system, you can grow plants 365 days a year, no matter the season. Just ensure you’re providing the right amount of light, water, and nutrients, and you’ll be harvesting fresh produce in the dead of winter or the peak of summer.