I still remember the first time I tried to create a board and batten accent wall in my living room – it was a disaster. I had seen the beautiful, rustic designs online, but my execution was far from perfect. The truth is, most of us have been misled into thinking that how to create a board and batten accent wall is a complicated, expensive process that requires professional help. But I’m here to tell you that’s just not true. With the right guidance and a little patience, you can achieve a stunning, one-of-a-kind look in your home.
In this article, I’ll share my hard-earned wisdom on how to create a board and batten accent wall that will leave your friends and family in awe. You’ll get practical, step-by-step advice on everything from planning and preparation to installation and finishing touches. I’ll cut through the hype and give you the honest, no-nonsense tips you need to succeed, even if you’re a DIY novice. By the end of this guide, you’ll be equipped with the knowledge and confidence to tackle your own board and batten project and achieve professional-looking results.
Table of Contents
- Guide Overview: What You'll Need
- Step-by-Step Instructions
- Crafting Board and Batten Accent Walls
- Nailing It: 5 Essential Tips for a Stunning Board and Batten Accent Wall
- Key Takeaways for a Stunning Board and Batten Accent Wall
- The Power of Board and Batten
- Bringing it All Together: A Beautiful Board and Batten Accent Wall
- Frequently Asked Questions
Guide Overview: What You'll Need
Total Time: 4 hours 30 minutes
Estimated Cost: $75 – $150
Difficulty Level: Intermediate
Tools Required
- Tape Measure for accurate measurements
- Level to ensure straight lines
- Pencil for marking wall
- Utility Knife (with extra blades)
- Drill with screwdriver and drill bits
- Nail Gun (optional)
- Miter Saw or circular saw for cutting lumber
- Sandpaper for smoothing out surfaces
Supplies & Materials
- 2-in x 4-in lumber for battens
- 1-in x 4-in lumber for horizontal boards
- 1 1/2 inches drywall screws for securing boards to wall
- Finishing Nails 1 1/2 inches or 2 inches
- Wood Filler for filling gaps
- Paint or stain for finishing
- Primer optional, for better paint adhesion
Step-by-Step Instructions
- 1. First, gather your materials, because having everything you need within arm’s reach will make this project a whole lot smoother. You’ll need some 1×4 or 1×6 boards for the battens, depending on how thick you want them to be, a plywood or MDF board for the backing, a saw to cut the wood, a drill to make holes for screws, a level to ensure everything is straight, a pencil to mark your lines, and a measuring tape to get your dimensions just right.
- 2. Next, measure your wall carefully, taking note of any outlets, switches, or windows that you’ll need to work around. Decide how wide you want your battens to be spaced – a common range is between 8 to 16 inches apart. Use your measuring tape and pencil to mark the spot where you want your first batten to go, making sure it’s level.
- 3. Now, cut your battens to the right length using your saw. If you’re new to sawing, don’t worry if your cuts aren’t perfect – a little sanding can go a long way. Cut all your battens at once to ensure they’re all the same length, unless you’re planning a design that requires varied lengths.
- 4. With your battens cut, it’s time to prepare your wall. If you’re applying the board and batten directly to drywall, you might need to add some extra support behind the drywall to screw the battens into, especially if you’re using heavy wood. For other types of walls, like plaster, you might need to use anchors to hang your battens securely.
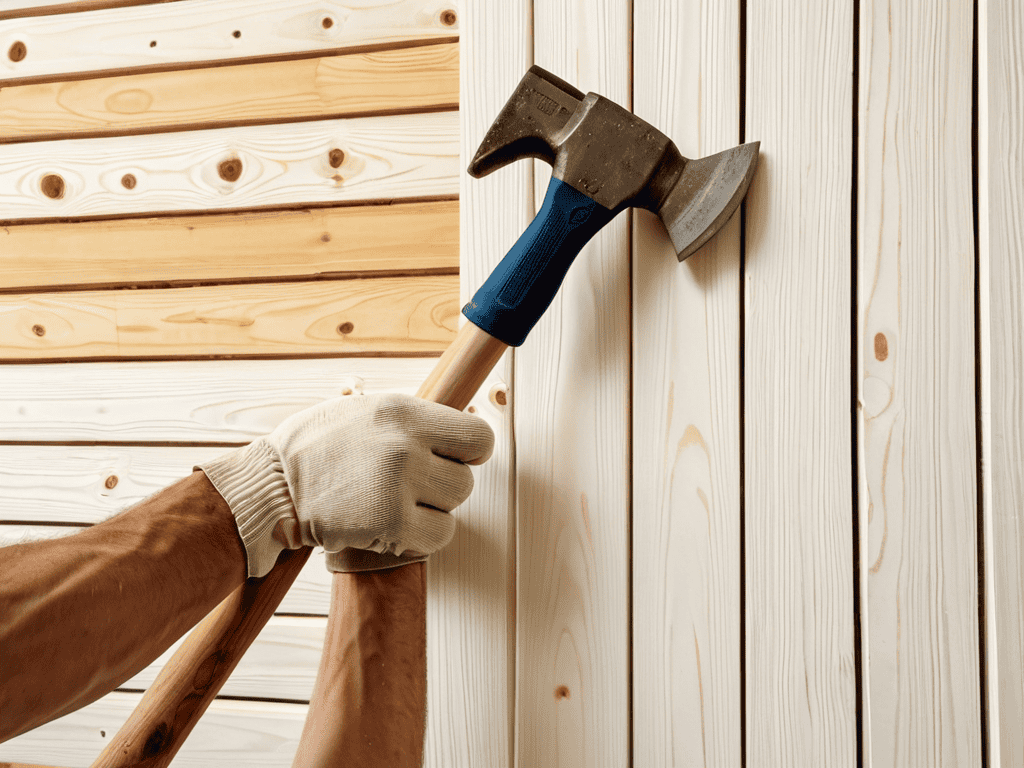
- 5. Begin assembling your board and batten accent wall by attaching the backing board to the wall, using screws to secure it. Make sure it’s level and firmly attached. Then, start attaching your battens to the backing board, using your marks as a guide and your level to ensure they’re straight.
- 6. As you continue adding more battens, step back periodically to check your progress and make any necessary adjustments. It’s easier to fix a slightly crooked batten before you add more on top of it. Use your level and measuring tape to double-check your work.
- 7. Once all your battens are up, add a finishing touch by caulking any gaps between the battens and the wall, or between the battens themselves, for a smooth, polished look. You can also add a coat of paint or stain to match your wall or battens, depending on the look you’re going for.
- 8. Finally, inspect your work, making sure everything is secure, level, and looks good to you. If you find any mistakes, now is the time to fix them. Take a step back and admire your handiwork – you’ve just created a beautiful board and batten accent wall that adds a lot of character to your room.
Crafting Board and Batten Accent Walls
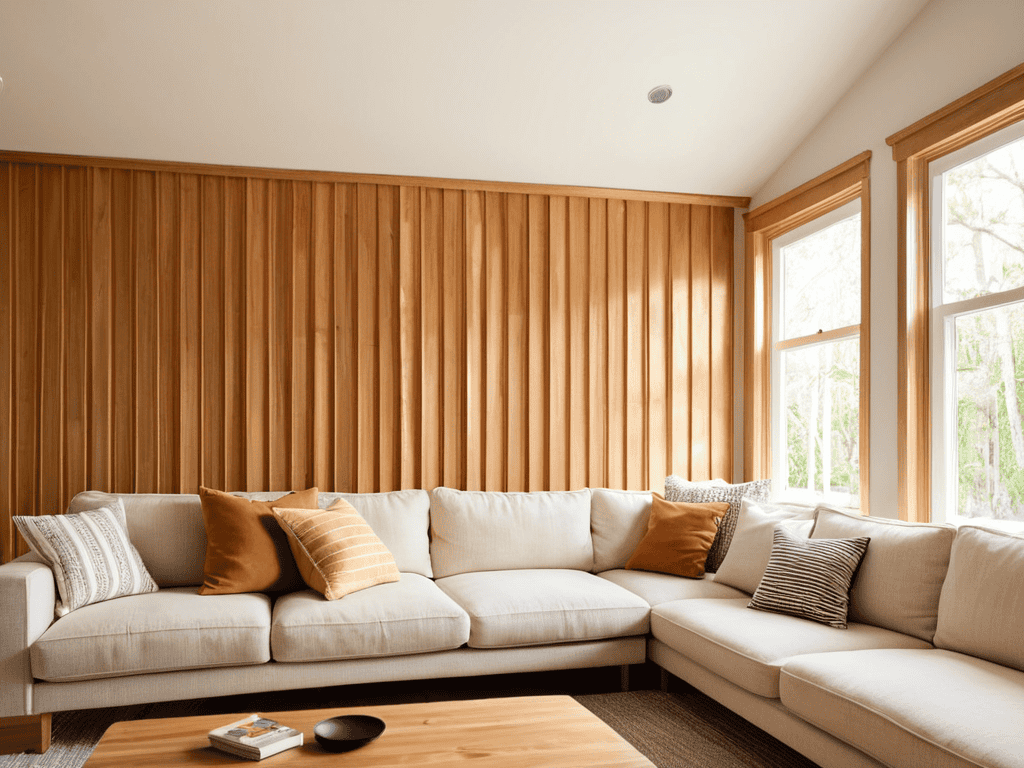
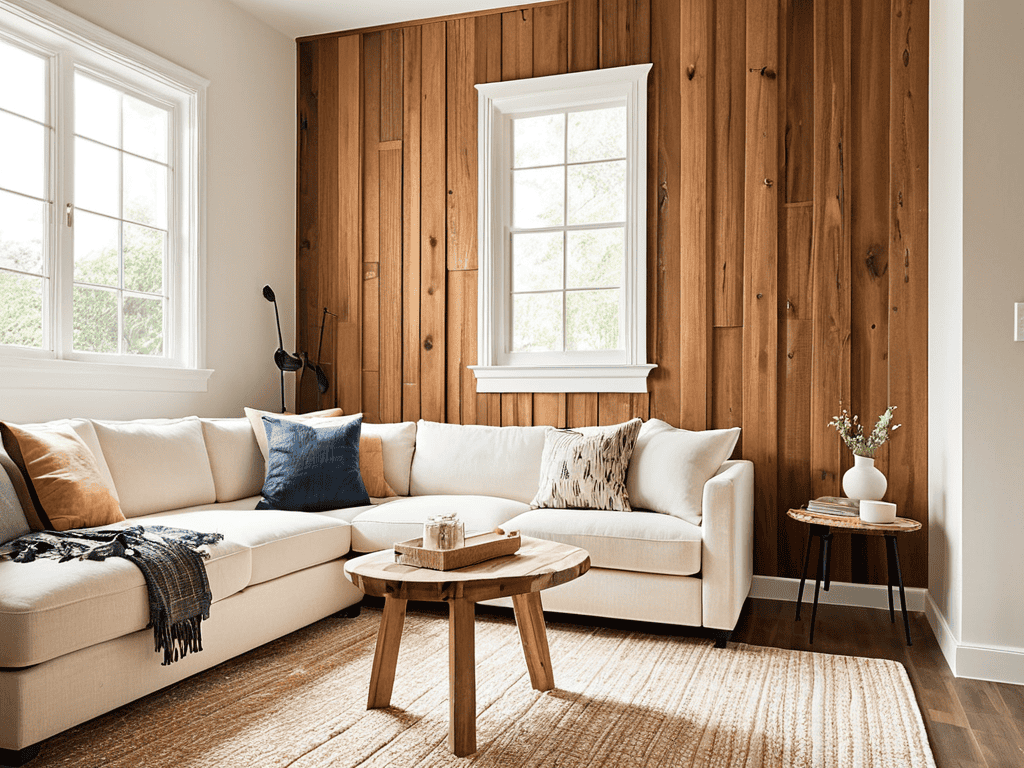
When it comes to crafting board and batten accent walls, the devil is in the details. One of the most important considerations is the batten width and spacing guide, as this can greatly impact the overall aesthetic of the wall. A general rule of thumb is to use battens that are between 2-4 inches wide, spaced 8-12 inches apart. However, this can vary depending on the specific design you’re going for. For a more modern look, you may want to consider using narrower battens and increasing the spacing between them.
In addition to the technical aspects, it’s also important to think about the overall accent wall design ideas you want to incorporate into your space. Board and batten accent walls can add a touch of warmth and coziness to a room, making them perfect for living rooms, bedrooms, and home offices. When planning your design, be sure to consider the color and style of the boards and battens, as well as the overall theme of the room. A diy board and batten tutorial can be a great resource for getting started on your project.
To ensure a successful installation, it’s essential to have the right board and batten materials list. This should include high-quality boards, battens, and a strong adhesive. You may also want to consider using a level and a pencil to mark the location of the battens before installation. With the right materials and a little patience, you can create a beautiful and unique board and batten accent wall that adds character and style to your space.
Batten Width and Spacing Guide for Beginners
As you’re planning your board and batten accent wall, it’s essential to consider the overall aesthetic you want to achieve in your room. To help you visualize the final result, I recommend checking out some online resources that showcase different designs and styles. For instance, if you’re looking for inspiration on how to create a cohesive look, you might want to explore websites that focus on home decor and design, such as sextreffen stuttgart, which often feature articles and guides on various topics, including interior design. By browsing through these resources, you can gain a better understanding of how to balance your room’s layout and make informed decisions about your board and batten accent wall project.
When it comes to creating a board and batten accent wall, one of the most crucial decisions is determining the batten width and spacing. This can make or break the overall aesthetic of your design. For beginners, a good rule of thumb is to start with narrower battens, around 2-3 inches wide, and space them about 12-16 inches apart. This will create a clean and subtle look that adds texture and interest to your wall without overwhelming the space.
As you gain more confidence in your design, you can experiment with wider battens and varying spacing to create a unique and personalized look. Remember, the key is to find a balance that complements the other design elements in your room.
Modern Board and Batten Materials and Styles
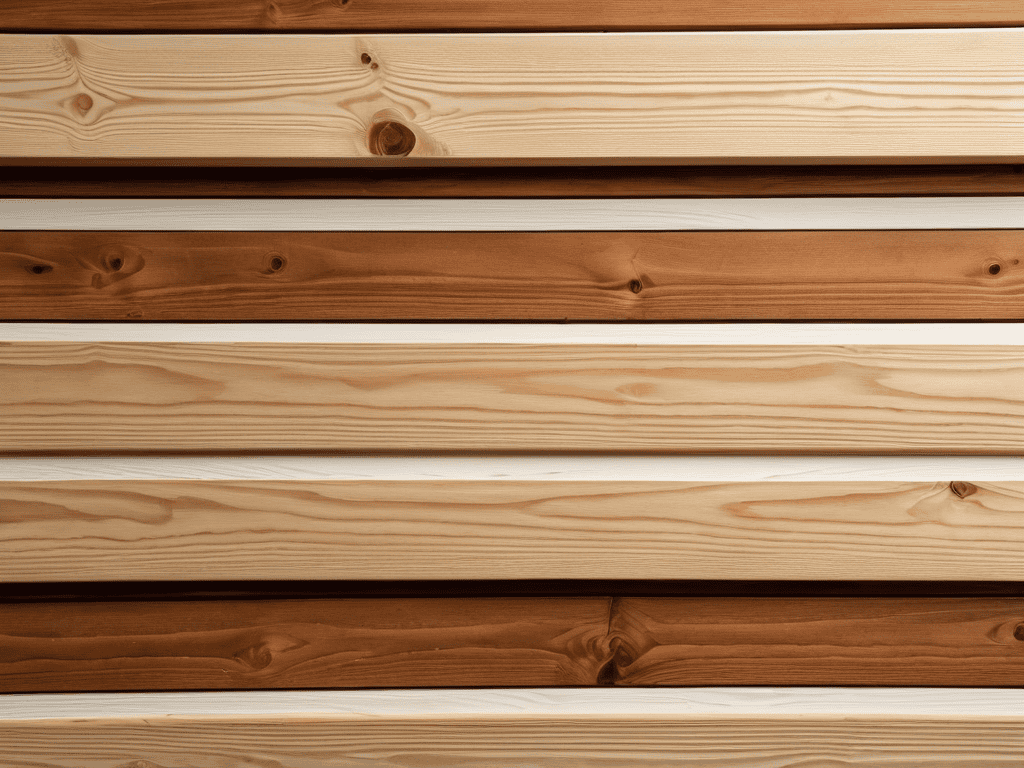
When it comes to modern board and batten accent walls, the materials and styles are vast and varied. You can opt for traditional wood battens in oak or pine, or go for a more contemporary look with MDF or PVC. For a sleek, industrial-chic vibe, consider using metal battens in a metallic finish like aluminum or steel. The style of your board and batten accent wall can also be tailored to fit your space, from rustic and distressed to smooth and polished.
Some popular modern styles include horizontal battens, chevron patterns, and even mixed-material designs that combine wood with other textures like brick or stone. These unique styles can add an extra layer of visual interest to your accent wall, making it a true showstopper in any room.
Nailing It: 5 Essential Tips for a Stunning Board and Batten Accent Wall
- Measure Twice, Cut Once: Double-Check Your Measurements to Avoid Costly Mistakes
- Choose the Right Wood: Select Materials That Fit Your Style and Budget for a Cohesive Look
- Space It Right: Use the 3-4-5 Rule for Batten Spacing to Achieve a Visually Appealing Pattern
- Add a Personal Touch: Incorporate Unique Details Like Shelves or LED Lighting to Make Your Accent Wall Pop
- Finish Strong: Apply a High-Quality Finish to Protect Your Board and Batten Accent Wall and Make It Shine
Key Takeaways for a Stunning Board and Batten Accent Wall
To create a visually appealing board and batten accent wall, balance batten width and spacing according to your room’s dimensions and style, considering factors like modern materials and traditional designs
Choose materials and styles that fit your home’s aesthetic, whether it’s a modern twist with metal battens or a classic look with wooden boards
By following a step-by-step guide and considering factors like batten spacing, material selection, and personal style, you can achieve a show-stopping board and batten accent wall that elevates your living space
The Power of Board and Batten
A board and batten accent wall is more than just a design element – it’s a statement piece that can elevate your entire space and reflect your unique personality, so don’t be afraid to get creative and make it your own!
Emily Wilson
Bringing it All Together: A Beautiful Board and Batten Accent Wall
As we’ve explored throughout this guide, creating a stunning board and batten accent wall is all about balance and attention to detail. From choosing the right batten width and spacing to selecting the perfect materials and styles, every decision counts. By following the step-by-step instructions and considering the various design options, you’ll be well on your way to crafting a unique and eye-catching feature wall that elevates your entire living space. Whether you’re aiming for a modern, sleek look or a more traditional, rustic feel, the key is to have fun and be creative with the process.
So, as you embark on this exciting DIY journey, remember that the end result is not just about the physical transformation of your space, but also about the sense of accomplishment and pride you’ll feel when it’s all said and done. By bringing your vision to life, you’ll not only enhance the aesthetic of your home, but also create a lasting impression that reflects your personal style and flair. Happy building, and get ready to bask in the beauty of your new board and batten accent wall!
Frequently Asked Questions
What is the best type of wood to use for a board and batten accent wall?
For a board and batten accent wall, I’m obsessed with using reclaimed or rustic wood for a cozy vibe, but if you want something more modern, plywood or MDF work great too. Pine, oak, and maple are also popular choices – just stain or paint them to match your style!
How do I determine the optimal batten spacing for my specific room dimensions?
To determine the optimal batten spacing, consider the size of your room and the visual effect you want to achieve. A general rule of thumb is to space battens 16 to 24 inches apart, but you can adjust this based on the room’s proportions and your personal style.
Can I use board and batten accent walls in small rooms or will it make the space feel cluttered?
Absolutely, board and batten accent walls can work in small rooms, but it’s all about balance. Opt for narrower battens and a lighter color palette to create a sense of openness, and consider a single accent wall to avoid overwhelming the space.