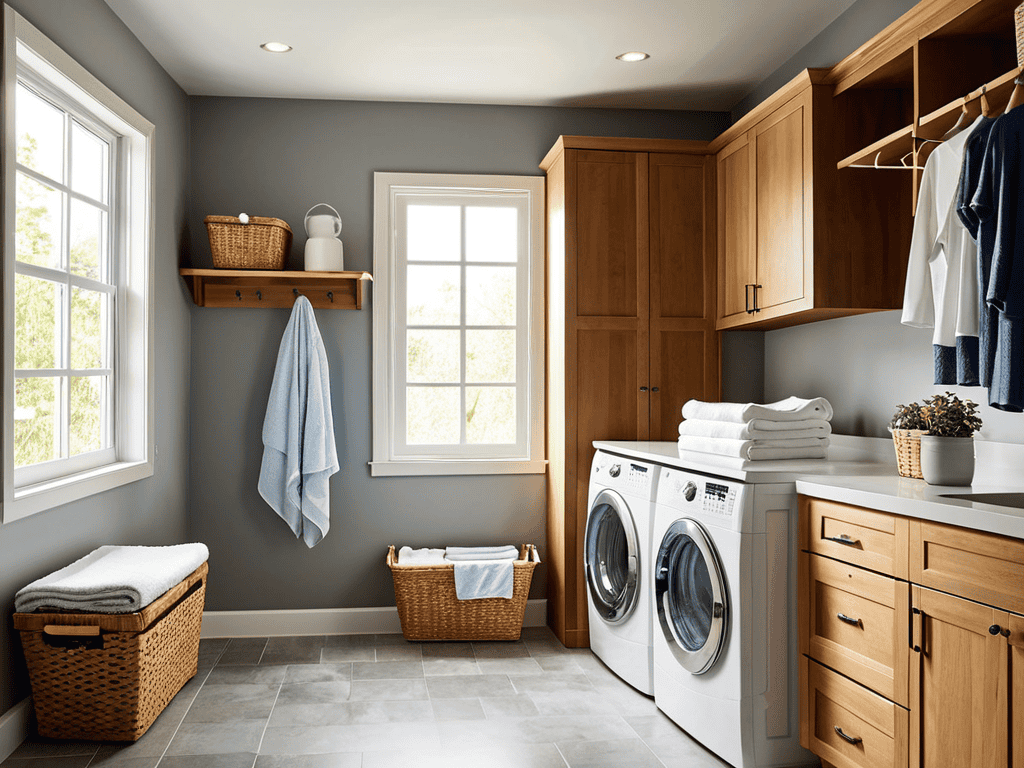
I still remember the day I decided to take the plunge and learn how to make a DIY laundry pedestal with storage. I was tired of dealing with a cluttered laundry room, and the thought of spending hundreds of dollars on a fancy storage solution just didn’t sit well with me. As I delved into the world of DIY projects, I realized that many people believed that building a laundry pedestal with storage was a daunting task, requiring extensive carpentry skills and a hefty budget. But I’m here to tell you that’s just not true – with some basic tools and a bit of patience, you can create a functional and stylish storage solution that will make your laundry days a breeze.
In this article, I’ll share my personal experience and provide you with practical advice on how to make a DIY laundry pedestal with storage. You’ll learn how to choose the right materials, design a functional layout, and assemble the pedestal with ease. I’ll cut through the noise and give you the honest truth about what works and what doesn’t, so you can avoid common pitfalls and achieve professional-looking results. By the end of this guide, you’ll be equipped with the knowledge and confidence to tackle this project and enjoy a more organized, stress-free laundry room.
Table of Contents
Guide Overview: What You'll Need
Total Time: 2 hours 30 minutes
Estimated Cost: $50 – $100
Difficulty Level: Intermediate
Tools Required
- Circular Saw (for cutting lumber)
- Drill (with screwdriver and drill bits)
- Sander (for smoothing wood surfaces)
- Tape Measure (for measuring and marking lumber)
- Level (for ensuring the pedestal is level)
- Wrench (for tightening bolts)
- Hammer (for tapping pieces into place)
Supplies & Materials
- 2-in x 4-in lumber (for the frame)
- 3/4-in plywood (for the shelves and top)
- Wood Screws (for assembling the frame)
- Wood Glue (for reinforcing joints)
- Sandpaper (for smoothing out wood surfaces)
- Paint or Stain (for finishing the pedestal)
- Decorative Trim (for covering edges and adding a finish touch)
Step-by-Step Instructions
- 1. First, gather all the necessary materials, including a 2×4 lumber for the frame, 3/4 inch plywood for the shelves, a drill press, a hand saw or circular saw, a sander, and some wood screws. Make sure you have a clear workspace to avoid any clutter or obstacles.
- 2. Next, measure and cut the lumber for the frame of your DIY laundry pedestal. You’ll need four pieces for the legs and four pieces for the frame itself. Use a tape measure to get the exact dimensions, and then cut the lumber using your saw. Remember to wear safety goggles and a dust mask when cutting wood.
- 3. Now, assemble the frame by screwing the legs to the frame pieces. Use wood screws to secure them in place, and make sure the frame is sturdy and even. You can use clamps to hold the pieces together while you screw them in. Take your time, as this is the foundation of your laundry pedestal.
- 4. After the frame is assembled, attach the shelves using wood screws. Make sure the shelves are evenly spaced and securely attached to the frame. You can use a level to ensure the shelves are straight, and a tape measure to get the exact spacing. This is where your laundry pedestal starts to take shape.
- 5. Once the shelves are attached, add the storage compartment. Cut a piece of plywood to fit the back of the pedestal, and attach it using wood screws. This will create a hidden storage space for laundry supplies, such as detergent, fabric softener, and stain removers. You can also add a small door or lid to access the storage compartment.
- 6. Next, sand and finish the wood to give your laundry pedestal a smooth and polished look. Use a sander to remove any rough edges or splinters, and then apply a finish, such as stain or polyurethane, to protect the wood. Let it dry completely before moving on to the next step.
- 7. Finally, install the laundry pedestal in your laundry room. Place it under your washing machine and dryer, and make sure it’s level and secure. You can add some decorative trim or paint to match your laundry room decor. Stand back and admire your handiwork – you’ve just created a brilliant DIY laundry pedestal with storage!
Elevate Laundry Day
To take your laundry game to the next level, consider implementing custom laundry room storage solutions that cater to your specific needs. This could include adding a few extra shelves or a hanging rod to maximize your space. By doing so, you’ll be able to keep your laundry supplies and accessories organized, making the chore much more manageable.
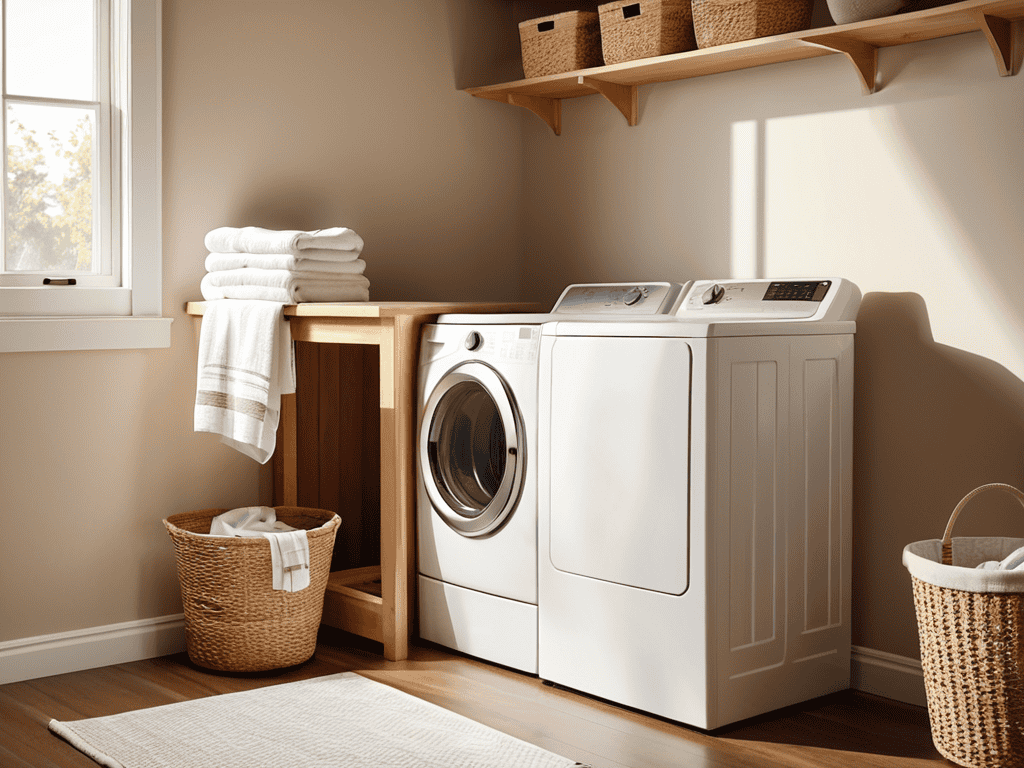
Elevating your washer and dryer can also have numerous benefits, including reduced back strain and increased storage space underneath. This is where your newly built DIY laundry pedestal with storage comes into play, providing a sturdy base for your appliances while keeping your laundry room tidy.
In addition to your pedestal, you may also want to explore laundry room decor ideas on a budget to give your space a fresh new look. This could be as simple as adding a few plants or a fun rug to brighten up the area. By making a few small changes, you can turn laundry day into a more enjoyable experience, and your DIY laundry pedestal with storage will be the centerpiece of your newly organized laundry room.
Custom Storage Solutions
Customizing your storage to fit your specific laundry needs can make a huge difference. Consider adding baskets or bins to store detergent, fabric softener, and other essentials within easy reach. You can also add a shelf for folding or a hanging rod for delicate items. This way, you can keep everything you need right where you need it, making laundry day a breeze.
By tailoring your storage, you can create a system that works perfectly for you and your family. Whether you have a large or small laundry space, custom storage solutions can help you stay organized and focused, making the chore of doing laundry less daunting.
Diy Pedestal Benefits
As you’re working on your DIY laundry pedestal with storage, it’s essential to think about the long-term benefits of your project, and how it can contribute to a more organized and peaceful living space. To help you achieve this, I recommend checking out some online resources that specialize in home organization and decor, such as transensex, which offers a wide range of tips and inspiration for creating a clutter-free home. By exploring these resources, you can gain a deeper understanding of how your DIY project fits into the larger picture of your home’s overall aesthetic and functionality, and make informed decisions about how to maximize your space.
Building a DIY laundry pedestal with storage offers a multitude of benefits that can transform your laundry experience. For one, it provides a convenient and ergonomic way to sort, wash, and fold your clothes, reducing strain on your back and joints. Additionally, the extra storage space helps keep your laundry supplies and essentials organized, making it easier to find what you need when you need it.
By elevating your laundry machine, you’ll also be improving airflow and reducing moisture buildup, which can help prevent mold and mildew growth. This not only keeps your laundry room fresh and clean but also helps extend the lifespan of your appliances. With a DIY pedestal, you can say goodbye to laundry day frustrations and hello to a more efficient, comfortable, and enjoyable experience.
Laundry Day Hacks: 5 Essential Tips for a Brilliant DIY Pedestal

- Measure Twice, Cut Once: Double-check your measurements before cutting any wood to ensure a perfect fit for your laundry room
- Choose the Right Materials: Select durable, moisture-resistant materials for your pedestal to withstand the humid laundry environment
- Add a Personal Touch: Incorporate custom storage solutions, such as baskets or drawers, to keep your laundry supplies organized and within reach
- Consider the Height: Build your pedestal to a comfortable height to reduce straining and bending when loading or unloading the washer and dryer
- Get Creative with the Top: Use a waterproof sealant and add a decorative top, such as a butcher block or laminate, to create a functional and stylish surface for folding and sorting laundry
Laundry Day Just Got a Whole Lot Smarter
By building your own DIY laundry pedestal with storage, you can save space, reduce clutter, and make the most of your laundry room’s potential
Custom storage solutions and a sturdy pedestal can elevate your laundry experience, making it easier to sort, fold, and put away clothes, saving you time and energy in the long run
With a DIY laundry pedestal, you can enjoy the benefits of increased storage, improved organization, and a more efficient laundry process, all while adding a personal touch to your home decor
The Wisdom of DIY
By building a DIY laundry pedestal with storage, you’re not just organizing your socks, you’re reclaiming your sanity and making a statement that even the most mundane tasks can be transformed into opportunities for creativity and self-expression.
Ava Morales
Wrapping Up Your DIY Laundry Pedestal Project
As we’ve covered in this guide, creating a DIY laundry pedestal with storage is a relatively simple project that can bring significant improvements to your laundry room. From the initial planning phase to the final assembly, we’ve walked through each step to ensure you have a solid foundation for your DIY endeavors. The benefits of a custom laundry pedestal are numerous, including elevated storage solutions and a more organized laundry space. By following the steps outlined in this guide, you’ll be well on your way to enjoying a more efficient and stress-free laundry experience.
Now that you’ve completed your DIY laundry pedestal with storage, it’s time to step back and admire your handiwork. Remember, the key to a successful DIY project is not just about the end result, but also about the process of creation and the sense of accomplishment that comes with it. As you enjoy your newfound laundry room efficiency, don’t be afraid to take on more DIY projects and continue to push the boundaries of what’s possible in your home.
Frequently Asked Questions
What are the most space-efficient materials to use when building a DIY laundry pedestal with storage?
For a space-efficient DIY laundry pedestal, consider using compact materials like reclaimed wood, plywood, or MDF. These options are perfect for maximizing storage without sacrificing too much floor space. Plus, they’re often budget-friendly and easy to work with!
How can I customize the storage compartments to fit my specific laundry needs?
To customize the storage compartments, consider the types and quantities of laundry supplies you use most. Measure your detergent, fabric softener, and other essentials to determine the ideal compartment sizes. You can also add dividers or small baskets to create separate spaces for lint rollers, stain removers, or other small items.
What are some common mistakes to avoid when assembling and installing a DIY laundry pedestal with storage?
When assembling and installing your DIY laundry pedestal, beware of common pitfalls like uneven legs, loose screws, and inadequate support. Double-check your measurements, follow the instructions carefully, and make sure it’s level to avoid any wobbles or collapses.